Search
  • HOME
  • ABOUT ME
  • ARTICLES
Close
Menu
Search
Close
  • HOME
  • ABOUT ME
  • ARTICLES
Menu

Nina Knows Food

EXPLORE. EAT. DRINK. REPEAT.

June 30, 2014

Strawberry Rhubarb & Basil Oat Crumble

by Nina Z


DSC_0045.JPG
DSC_0045.JPG

Summer is all about the berries. Strawberries first, then blueberries, and last but not least, raspberries towards the end of the summer. While strawberries are not my favorite, I never pass up an opportunity to go berry picking.

photo (2).JPG

If you don't want to make jam, and you don't want to eat pancakes filled with fruit until you hate pancakes, then consider making crumble! Easy to make, easily frozen to eat another time, and just plain delicious. It's a no-brainer.

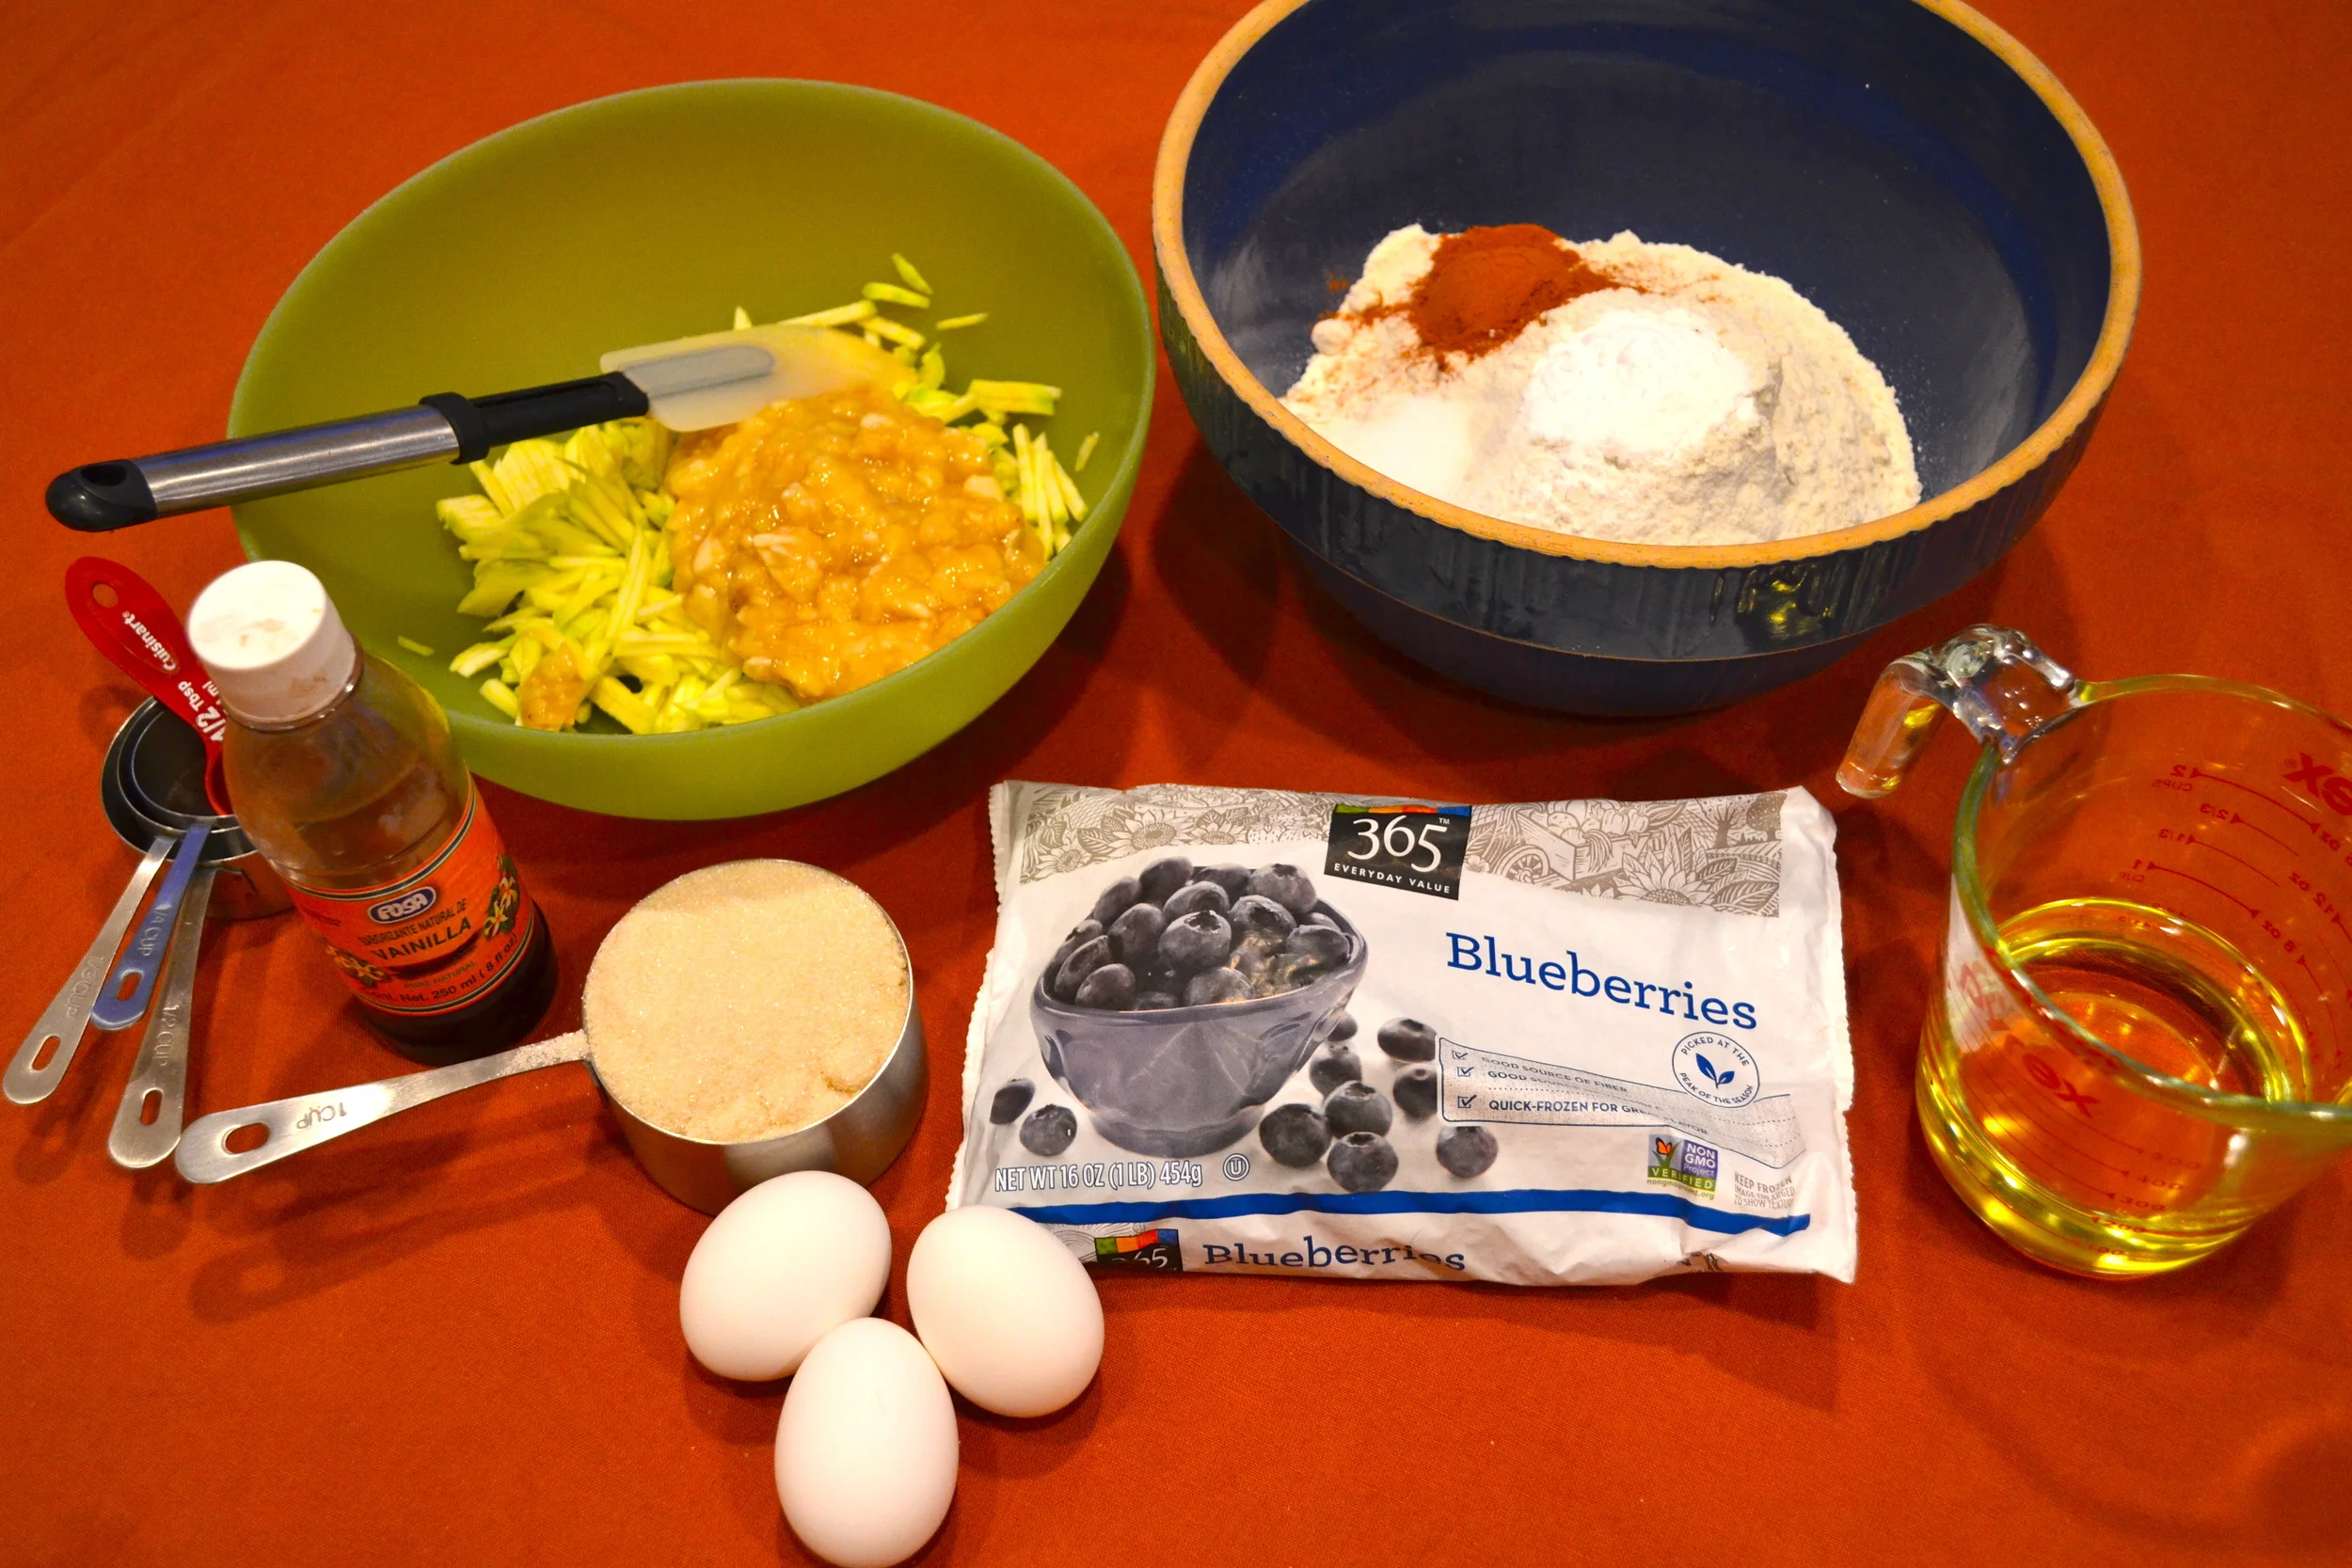
Here's what you'll need to make 20-24 small bars / to serve a crowd / to treat co-workers!:

  • For the strawberry-rhubarb-basil filling:
    • 3/4 cup chopped rhubarb
    • 2 1/2 cups chopped strawberries
    • 1/2 cup water
    • 2 tsp vanilla
    • 2 TBS maple syrup
    • 2 tsp lemon juice
    • 1 1/2 TBS finely chopped basil
  • For the crumble:
    • 3 cups oat flour
    • 3 cups old-fashioned oats
    • 1/2 cup white or raw sugar
    • 1/3 cup packed brown sugar
    • 2 tsp baking soda
    • 1 tsp salt
    • 1 1/3 cup coconut oil, melted/liquified

Preheat the oven to 350 F. In a small sauce pan over medium heat, add in all filling ingredients except for the strawberries. Bring to a boil, lower the heat to allow the filling to simmer for 10-15 minutes, or until the rhubarb has softened. Add in the strawberries, bring back to a boil, then lower the heat once more to allow to simmer for an additional 15-20 minutes, or until the filling has thickened. Once thickened, take off the heat and set aside to cool slightly.

DSC_0007.JPG

In a large mixing bowl, combine all dry ingredients except for the coconut oil. Once combined, add in the oil and mix until all the flour has been incorporated and looks uniform.

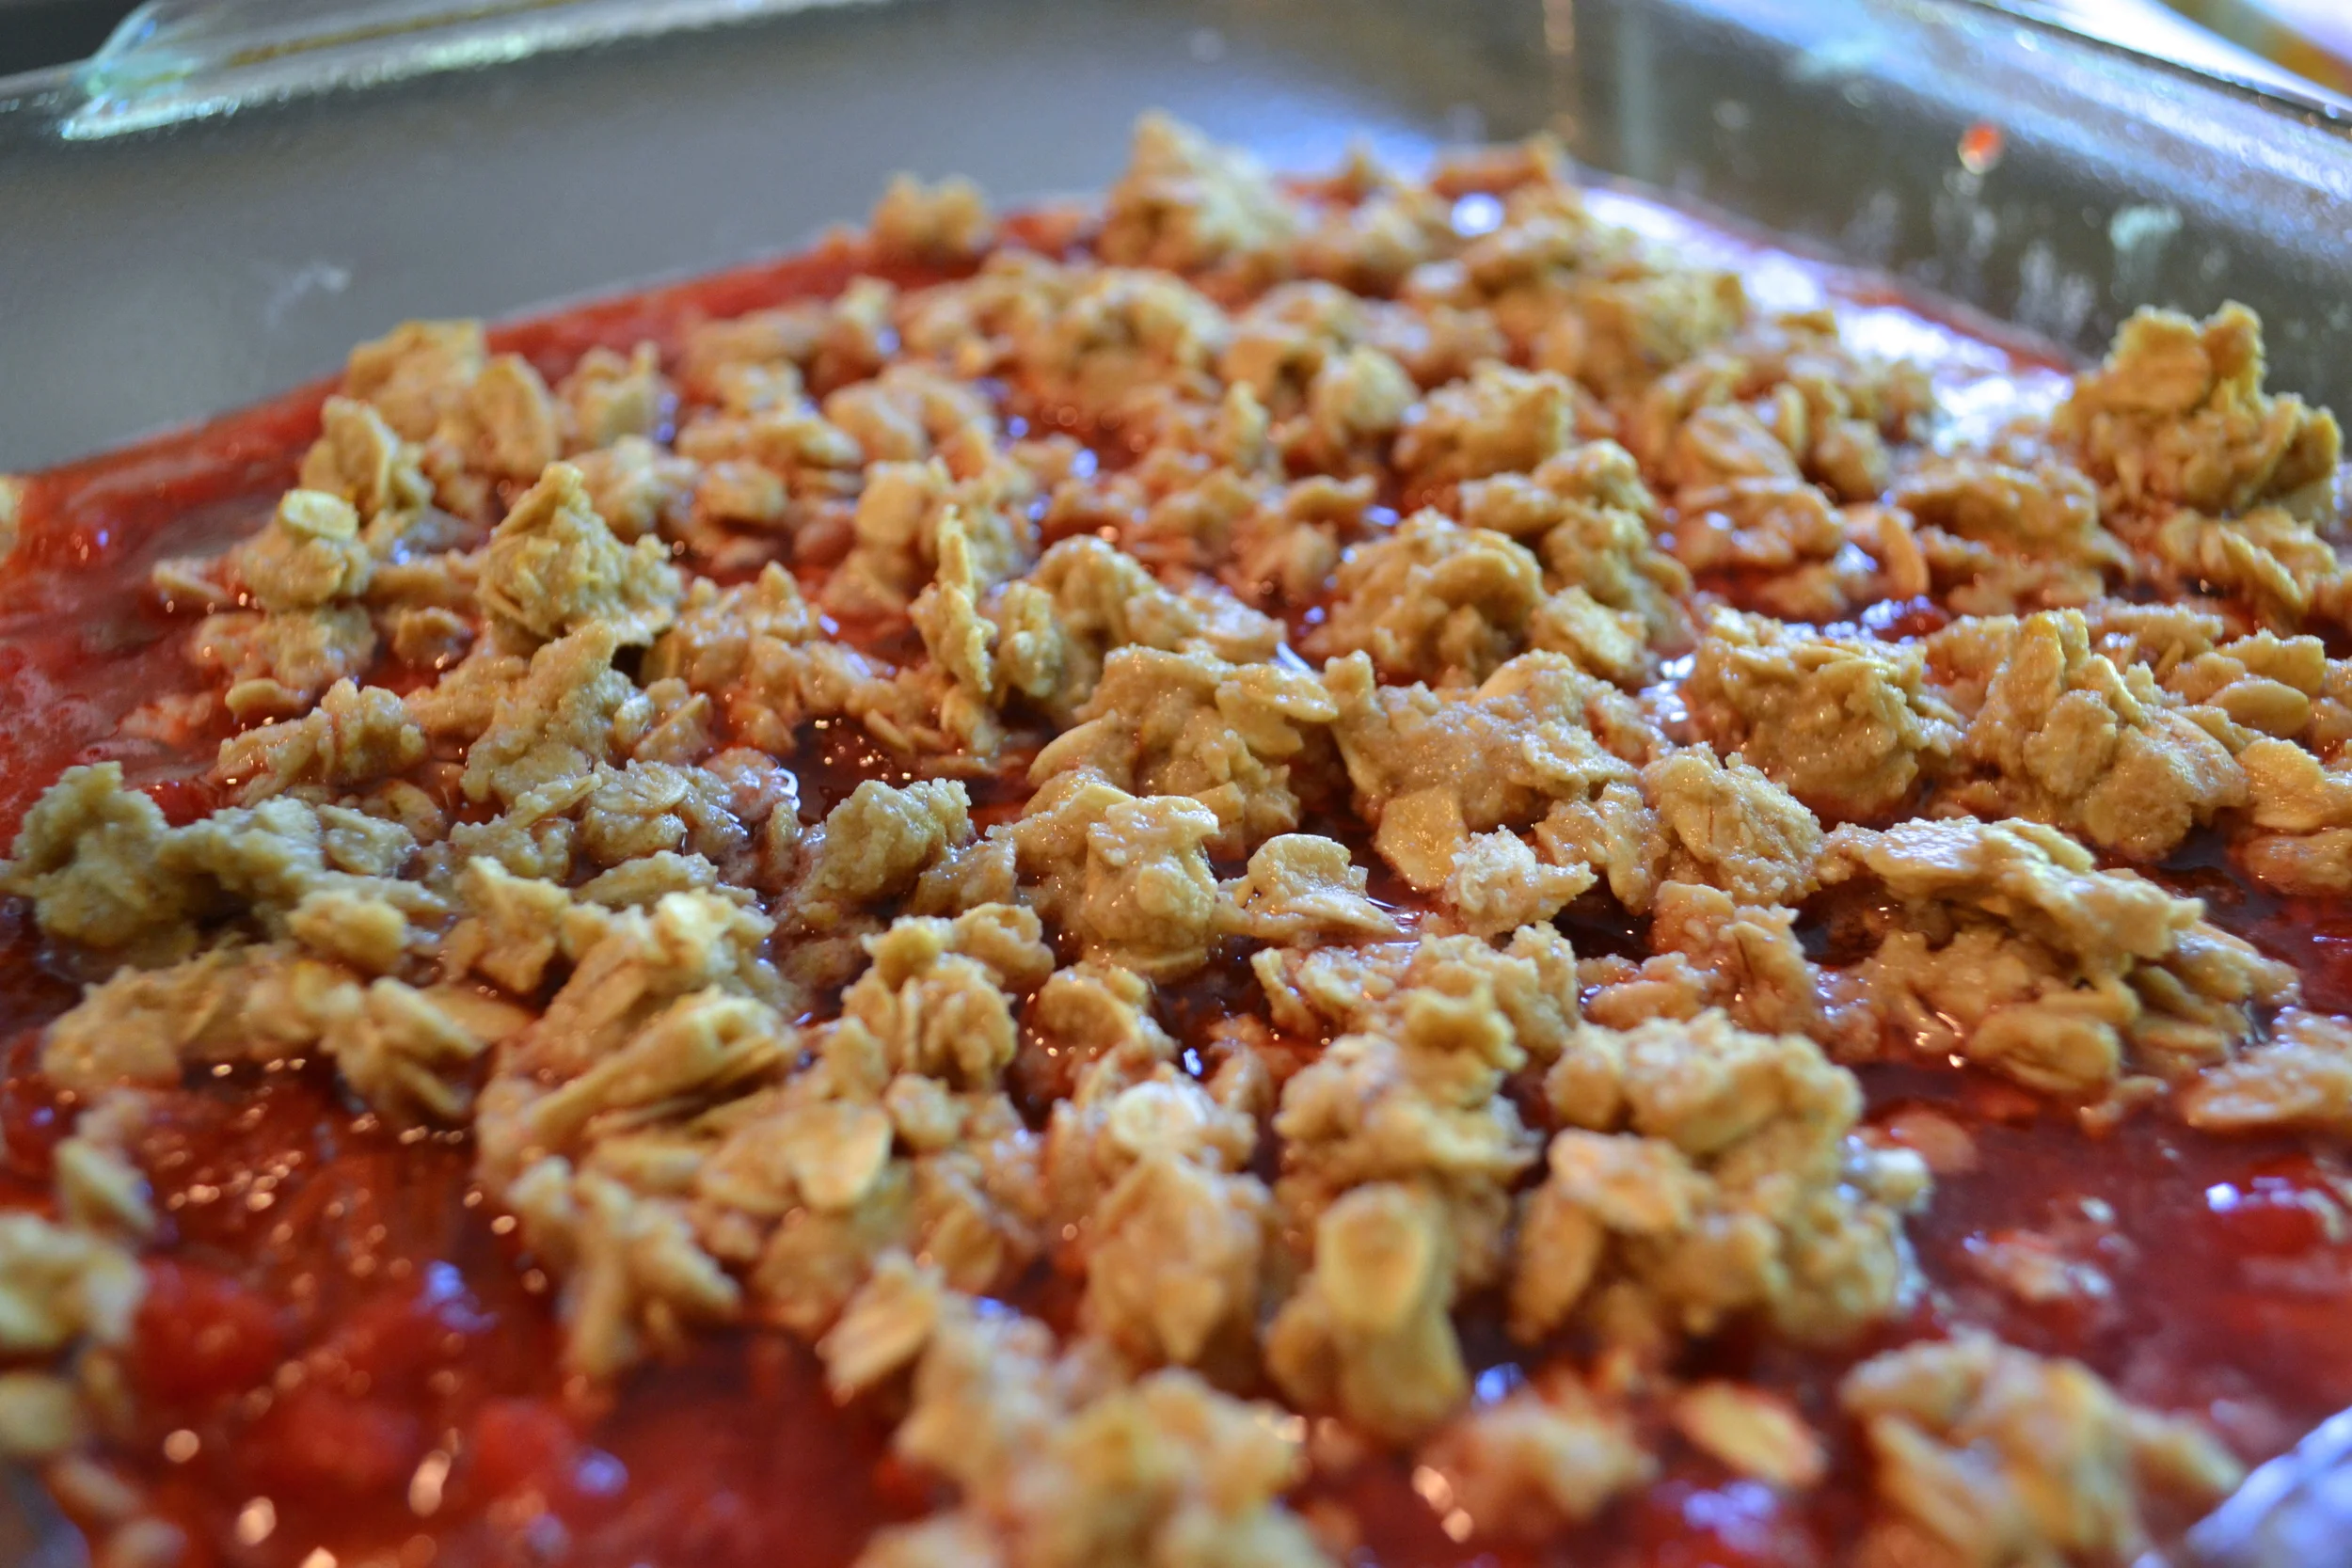
How you bake the crumble is up to you - you can use a shallow baking sheet, or you can use two brownie pans (usually 9x13). [If you only use half this recipe, then you'll only need one brownie pan.] Spray the dishes with non-stick cooking spray until thoroughly coated. Spread about 1/4 of the crumble mixture on the bottom of the dish, patting down with your hands until you have a thin, uniform layer. Spoon as much filling mixture as you want over the crumble, spreading evenly. Take another 1/4 of the crumble mixture and sprinkle evenly across the top. Repeat with the rest of your crumble mixture

You may not use all of the filling - that's OK! I used the extra filling as a sauce to pour over the crumble afterwards!

Bake for 30 minutes, or until the crumble has turned slightly golden. Allow to cool before serving, especially if you want to serve the crumble in bar-form, because it falls apart!

Did I mention they're vegan and gluten-free? What are you waiting for!? Get out in the sunshine, pick you own berries, and bake these scrumptious treats!

1 Comment

TAGS: vegan, gluten-free, strawberries, dessert, dairy-free


June 30, 2014

Morning Treats: Banana Oat Breakfast Muffins & "Breakfast" Cookies

by Nina Z


photo 1-1.JPG
photo 1-1.JPG

You'll go bananas over these muffins. Seriously, bananas.

I'm always trying to find a way to make breakfast more interesting. I love my whole wheat toast with peanut butter and banana, and I love my overnight oats with chia seeds and fresh fruit. The next logical step? Combine them! High in fiber, omega-3's and potassium, these muffins pack a nutritional punch. 

Here's what you'll need to make Banana Oat Breakfast Muffins (makes 10-12 large muffins):

  • 2 1/2 cups old fashioned oats
  • 1 tsp baking powder
  • 1 1/2 tsp cinnamon
  • 1 TBS chia seeds
  • 1/4 tsp salt
  • 3 medium ripe bananas, mashed (about 1 1/2 - 2 cups)
  • 2 egg whites
  • 2 tsp vanilla extract
  • 1 cup unsweetened almond milk - vanilla is great!

Preheat oven to 350 degrees F. In a large mixing bowl, combine oats, baking powder, cinnamon, chia seeds and salt. In a separate mixing bowl, combine bananas, egg whites, vanilla extra and almond milk. Combine the wet ingredients into the dry, mixing thoroughly with a spatula until evenly combined.

Line muffin tins with cupcake cups or spray well with non-stick cooking spray. Fill muffin cups until almost full - they will not rise much. Bake for 30-35 minutes, or until the muffin is completely set in the middle. Allow the muffins to cool before removing from the muffin tins, or serve warm with some peanut butter and extra chia seeds! A giant cup of coffee makes this breakfast complete and satisfying.

Breakfast & snack tip: Make these muffins Sunday evening, and you'll have a quick, easy Monday morning breakfast. Grab one for a mid-day snack and serve with some yogurt and fruit.

Are you checking to see if you have the ingredients? Get creative - throw some blueberries, nuts or flax seed in there!

Are you checking to see if you have the ingredients? Get creative - throw some blueberries, nuts or flax seed in there!

With no added sugar, these breakfast muffins are great for those watching your sugar intake. If you like to have a more indulgent breakfast, which I sometimes do, then this next recipe is for you. Having something sweet in the morning may curb your afternoon sugar craving. Personally, I can have chocolate any time of day, and I will usually reach for any dark chocolate or raw cacao nibs.

While many say that chocolate "can help you lose weight," or "is healthy for you," it's all up to how it makes you feel. If you're going to have sweets, do it right, and skip the artificial sweeteners.

These cookies were not originally meant to be for breakfast, but they definitely could be. If you're not one for a big breakfast, having a small treat loaded with whole grains, protein and antioxidants is the perfect solution.

photo 2 (2).jpg

Here's what you'll need for my Peanut Butter & Cherry Chocolate Chip Cookies (makes 12-15 small cookies):

  • 1 cup whole wheat flour (or 1 1/2 cups old fashioned oats)
  • 1/2 tsp baking powder
  • 1/2 tsp salt
  • 1 tsp vanilla extract
  • 1/4 cup sugar
  • 4 TBS peanut butter - creamy or crunchy, your choice!
  • 1 cup unsweetened applesauce
  • 1/3 cup roughly-chopped dark chocolate or 1/2 cup dark chocolate chips
  • 1/3 cup chopped frozen cherries

Preheat the oven to 350 degrees F. In a large mixing bowl, combine flour (or oats), baking powder and salt. Mix until thoroughly combined.

Add in vanilla, sugar, peanut butter and applesauce and mix well. Fold in chocolate and cherries gently, as to not break up the cherries too much. 

Line baking sheets with parchment paper. Scoop cookies out onto the baking sheet with a tablespoon. If you use a large ice cream scoop, you will yield 8-10 large cookies. Bake for 10-12 minutes, or until the cookies are completely set and golden in color. Allow to cool for 5 minutes before serving - they are awesome served warm.

Creative variations: chopped nuts, 1 medium ripe mashed banana (add more flour or oats if you do this), cinnamon, chopped crystallized ginger, and/or chia seeds

Make your mornings more delicious - have dessert first. 


*Learn more from the blogs that inspired these breakfast treats: muffins & cookies

Comment

TAGS: vegan, gluten-free, muffins, cookies, banana, oats, breakfast


June 30, 2014

Sweet and Spicy Orange Chicken

by Nina Z


photo 4.JPG
photo 4.JPG

Re-creating your favorite Chinese takeout meals at home has never been easier! While I LOVE Chinese takeout, it definitely is not the healthiest option. Cooking this type of food at home allows you to control the amount of sodium, sugar, and fat that go into your meal. This orange chicken is stir-fried, not deep-fried, and I used chicken breasts instead of thighs, both of which lowers the fat. The sauce is loaded with ginger and garlic, adding strong flavor and a subtle, but lingering heat.

Here's what you'll need to make Sweet and Spicy Orange Chicken (serves 3-4):

The chicken:

  • 1 lb chicken boneless, skinless chicken breasts, cut into bite-size pieces
  • 1/2 TBS organic coconut oil*

The sauce:

  • 1/4 cup + 2 TBS water
  • 1/4 cup + 2 TBS orange juice
  • 1/8 cup raw sugar
  • 3 TBS rice wine vinegar
  • 1/8 cup low-sodium soy sauce
  • 1 clove garlic, minced
  • 1/2 tsp fresh ginger, minced
  • 1 TBS + 1 tsp cornstarch

Heat oil in a medium-sized pan (or wok, if you have one) until hot. Once hot, add in chicken and cook until chicken is no longer white and cooked through. Remove chicken from the pan and set aside.

While the chicken is cooking, combine 1/4 cup water, OJ, sugar, vinegar, soy sauce, garlic and ginger in a small sauce pan. Bring to a boil and stir until all the ingredients dissolve - about 3 minutes. The sauce will begin to reduce. In a small mixing bowl, combine the remaining 2 TBS water and all the cornstarch and mix until thoroughly combined. Add the cornstarch mixture to the boiling sauce and stir until thick and smooth. Be careful - the sauce may splatter as you add the cornstarch mixture.

Turn off the heat, remove the sauce pan from the burner, and slowly add in chicken. Mix until the chicken is completely coated in the orange sauce. Garnish with black sesame seeds and serve immediately. You can also garnish with fresh scallions and white sesame seeds!

See those green beans in the picture? So simple. In the same pan that you cooked the chicken, heat 1/2 TBS coconut oil*. Toss in green beans, 1 minced clove of garlic and a pinch of white or black sesame seeds. Cook until the string beans have softened a bit, but still have their crunch - about 5-7 minutes. 

With prep and cooking, this meal took only 30 minutes to make! This is a great option for a quick weeknight dinner or a laid back weekend meal because, let's face it, you don't want to spend forever re-creating Chinese food if you could have easily picked up the phone and ordered. Tweak this recipe based on your taste: if you want it more sweet, add more sugar and orange juice. If you want it more spicy, add more ginger and a dash of Sriracha! Chinese food is comfort food for me, and now I can continue to indulge without the guilt!


*Coconut oil is great for cooking at high temperatures and adds a sweet nutty flavor to the dish. You can also use peanut oil, sticking with the Asian theme.

Comment

TAGS: chinese food, chicken, dinner, homemade


June 30, 2014

Fresh, Homemade Pasta

by Nina Z


Nests of fresh pasta lay on a baking sheet dusted with cornmeal to keep the pasta from sticking to itself

Nests of fresh pasta lay on a baking sheet dusted with cornmeal to keep the pasta from sticking to itself

Nests of fresh pasta lay on a baking sheet dusted with cornmeal to keep the pasta from sticking to itself

Nests of fresh pasta lay on a baking sheet dusted with cornmeal to keep the pasta from sticking to itself

In retrospect, I definitely should have included photos of the pasta-making process. Forgive me, but my hands were covered in flour and eggs. After one failed attempt at making the dough completely by hand, we switched over to the standing mixer to get the dough started, and we completed the last 10 minutes by kneading the dough until it bounced back after pressing it with one finger.

Please don't fret. I see much more pasta-making in my future, and I am sure that you all are very happy about that - especially those who are able to taste test.

DSC_0007.JPG

After the dough rested for 30 minutes, we rolled and cut the dough into fettucine. The fettucine only took 2 minutes to cook (it is SO easy to over cook fresh pasta because we are so used to boxed, dried pasta that takes 7-10 minutes to cook) and we tossed the fettucine in the pan with the pork sausage, broccoli rabe, a LOT of garlic, and a little sprinkling of Pecorino cheese. 

Cacio de Pepe - boxed whole wheat ziti with fresh ground pepper and Cacio de Roma cheese - bellissima!

Cacio de Pepe - boxed whole wheat ziti with fresh ground pepper and Cacio de Roma cheese - bellissima!

While the recipe I am going to give you was not made with fresh pasta, there is no reason that it can't be next time! This super simple recipe needs to be paired with a pasta with lots of room to soak up all the pepper-y and cheesy goodness.

Here's what you'll need to make Cacio e Pepe (serves 4-6):

  • 1 box dried pasta / 1 lb fresh pasta of your choice - I recommend ziti, bucatini or even fettucine
  • Olive oil - enough to coat the bottom of a medium sized skillet
  • 2-3 teaspoons fresh ground pepper - depends on how much pepper you can handle
  • 1 cup pasta water
  • 3/4 cup finely grated Pecorino Romano
  • 1/2 cup finely grated Cacio de Roma - this is mild sheep's milk cheese; softer than Pecorino and a little sweeter and little less pungent

Bring a large pot of salted water to a boil. Cook dried pasta according to box instructions. If using fresh pasta, cook for 1-2 minutes and remove promptly. If you are using fresh pasta, reserve 1 cup pasta water. While the pasta is cooking, heat olive oil in a medium-sized skillet until shimmering. Add the fresh ground pepper and cook for 1-2 minutes, until fragrant. Be careful, the oil may splatter a little!

Once the pepper is fragrant, ladle in the pasta water (from the pot cooking the pasta or from the water you reserved). Bring to a boil. Transfer pasta to the skillet, and toss until evenly coated with the pepper. Add in most of the Pecorino and all of the Cacio de Roma cheese. Combine until creamy - if the cheese is clumping, add in more pasta water, a little bit at a time. Sprinkle the rest of the Pecorino over the pasta and serve!

photo.jpg

If you're interested in learning how to make fresh pasta - or anything else - check out the Institute for Culinary Education in NYC. From basic knife skills to the art of French cooking, you can learn anything and everything in their professional kitchen classroom! My mom and I took the Pasta 101 class, where we were inspired to get the right tools and try it at home. I hope you all are inspired to try something new!

Comment

TAGS: pasta, homemade, fettucine


June 30, 2014

Sunday Mornings: Lemon Poppyseed Pancakes

by Nina Z


DSC_0003.JPG
DSC_0003.JPG

Pancakes are the ultimate comfort food for me. Plain or busting at the seams with chocolate chips or fresh fruit, I love them all. While I may already be a morning person, these pancakes will make any morning better.

photo 1.JPG

Here's what you'll need (yields 12-15 medium-size pancakes - see above):

  • 1 egg
  • 1 1/3 cup almond milk (or milk of your choice)
  • 1/4 cup vegetable oil
  • Juice and zest of 1 lemon (only zest 1/2 the lemon if you don't want it too lemon-y)
  • 1 3/4 cup brown rice flour (or flour of your choice)
  • 1 TBS poppy seeds
  • 1 TBS baking powder
  • 1/2 tsp salt
  • Non-stick cooking spray or "butter" spread of your choice - for the pan

Set a griddle pan over medium heat.

In a medium mixing bowl, combine egg, milk, oil, juice and zest and whisk until thoroughly combined. In another medium mixing bowl, combine flour, poppy seeds, baking powder, and salt, and whisk until thoroughly combined. Pour the wet ingredients into the dry, and whisk until smooth.

Spray the pan with non-stick cooking spray or spread "butter" on the pan, so the pancakes don't stick. Using a spoon (or small ice cream scoop, or tablespoon measure), dollop batter onto the pan - you should hear a sizzle! When the edges begin to bubble and rise from the pan (about 2-3 minutes), flip and cook on the other side for another 2-3 minutes. Repeat and serve immediately with maple syrup and fresh berries.

When it comes to the weekend, I don't mess around with breakfast. I hope you won't either!

-N

Comment

TAGS: gluten-free, pancakes, dairy-free, breakfast


June 30, 2014

Nina's Gluten-Free, Dairy-Free Banana and Zucchini Bread

by Nina Z


DSC_0018.JPG
DSC_0018.JPG

Banana bread is one of those treats that usually passes as the "healthier" option. I hate to break it to you, but the banana bread you're ordering at your favorite cafe is most likely very high in fat and sugar. Hey, I'm all for indulging once in a while, but I'm here to give you this fool-proof banana bread recipe that will allow you to indulge in this treat more often. I see you over there wincing a little at the zucchini. Do not be alarmed! The zucchini has a very mild flavor, gives a little more texture to an otherwise soft bread, AND gets you to eat some veggies. Everyone should incorporate veggies into their desserts.

DSC_0001.JPG

Since I started my new job, I've been inspired to get more creative in my cooking and especially my baking, something I've never really gotten into because it requires true patience and measurement. I know, ME? NOT patient? NOT into precise measurement? Who knew. I also wrongly assumed that you couldn't bake anything worth eating without dairy. I've obviously proved myself wrong and I am loving taking classic treats and making them both healthier and dairy-free. The original recipe used whole wheat pastry flour, but I wanted to accommodate all of my co-workers' dietary needs (I tested this out on them the first time, needless to say it was a HIT), so I swapped the whole wheat flour out for brown rice flour. I've never used brown rice flour before, but I am a convert! It gives this bread such a lovely nutty flavor and smooth texture.

DSC_0009.JPG

I truly believe that the simpler the recipe, the better. No need to pull out the electric mixer or 12 different mixing bowls or having to scramble to do the dishes. You will need just one large bowl (see above) to mix your wet and dry ingredients together. 

DSC_0010.JPG

By now, you might have caught onto the fact that I love blueberries. I would put them in everything if I could, but that would be weird... right? The beautiful blue/purple color oozes out into the bread and, if you're lucky, you bite into a whole, warm blueberry that bursts with a fresh sweetness. You totally want a piece now, don't you?

DSC_0012.JPG

If this couldn't get any better, this recipe yields TWO loaves. Keep one out, freeze one for later. Take the frozen loaf out for unexpected guests, a lazy Sunday brunch, or even a last-minute potluck.

DSC_0023.jpg

Here's what you'll need (yields 2 loaves; 1 loaf serves 6-8)

  • 3 eggs
  • 3/4 cup vegetable oil
  • 1 1/3 cups raw, organic cane sugar
  • 1 1/2 cups zucchini, grated (2 small zucchini)
  • 3 large bananas, mashed
  • 1 tsp vanilla
  • 3 1/2 cups brown rice flour (or your gluten-free flour of choice)
  • 1 1/2 tsp baking powder
  • 1 tsp baking soda
  • 1 TBS cinnamon
  • 1 tsp salt
  • 1/2 cup fresh or frozen blueberries

Preheat oven to 350 degrees F. In a medium mixing bowl, combine eggs, oil, sugar, zucchini, bananas and vanilla. Mix with a spatula until thoroughly combined.

In a large mixing bowl, combine flour, baking powder, baking soda, cinnamon and salt. Whisk until combined.

Pour the wet ingredients into the dry, and stir with a spatula until thoroughly combined. Make sure you get all of the flour off of the bottom and sides of the bowl - you don't want dry spots in your bread! Add blueberries and fold in softly, trying not to break the blueberries. 

Spray two 8x4 loaf pans with non-stick cooking spray (I used olive oil spray - gives the bread a beautiful golden color). Pour the batter evenly into both loaf pans, and bake for 45-50 minutes. Check the bread at 45 minutes, stick a toothpick in and if it comes out clean, it's done! Once done baking, remove the bread from the pans and let cool on plate or cooling rack. If you're like me, you'll want to cut into it right away while it's still steaming. But, I recommend letting it cool for 15-20 minutes before serving.

Cut yourself a thick slice, pour a cup of coffee, and you're going to have the perfect Saturday morning.

-N

Comment

TAGS: gluten-free, dairy-free, banana, banana bread, dessert, breakfast, blueberries


  • Newer
  • Older

Powered by Squarespace 6